
How to Create a Consistent AI Avatar with Gemini Omni
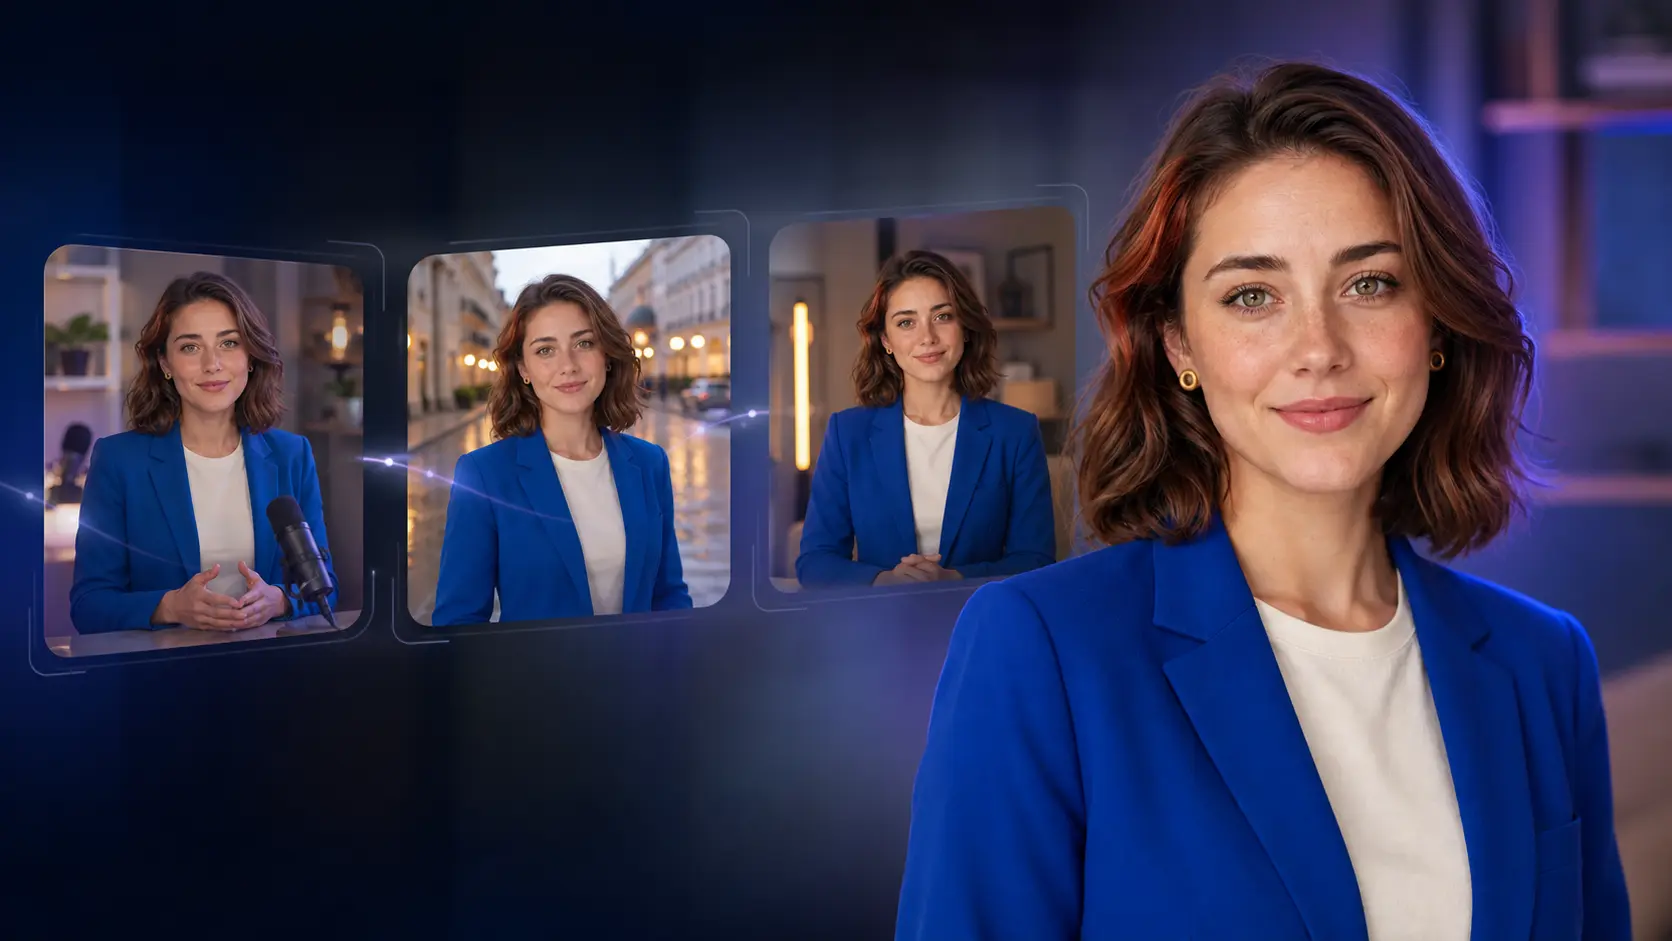
Creating an AI avatar is easy. Keeping that avatar recognizable across different videos, camera angles, lighting conditions, actions, and environments is the real challenge.
A character may look correct in the first clip but develop a different face in the next one. The hairstyle can change, clothing details may disappear, and even the character’s apparent age or voice can drift between scenes. These inconsistencies become especially noticeable when several clips are edited into one advertisement, tutorial, or social media series.
Gemini Omni can improve this workflow by combining reference-based video generation with natural-language refinement. Instead of describing a character from scratch every time, you can reuse a clear reference image, repeat a stable identity description, and ask the model to preserve the character while changing only the scene, action, or camera.
This guide explains how to create a more consistent AI avatar with Gemini Omni, from preparing the master reference image to generating multiple scenes with the same visual identity.
What Does a Consistent AI Avatar Mean?
A consistent avatar does not need to look perfectly identical in every frame. Even a real person appears slightly different under new lighting, camera lenses, expressions, and viewing angles.
The goal is identity continuity. Viewers should immediately understand that they are seeing the same character.
The most important identity features include:
- Facial structure and proportions
- Eye color and shape
- Hairstyle, length, and color
- Approximate age
- Skin tone and visible details such as freckles
- Signature clothing
- Accessories
- Speaking voice
- General personality and body language
Some descriptions are more useful than others. “A beautiful young woman” is too broad because it gives the model very little identity information.
A description such as “a fictional adult woman with an oval face, hazel-green eyes, shoulder-length wavy chestnut-brown hair, small circular gold earrings, a cobalt-blue blazer, and an ivory top” provides a much clearer visual target.
Consistency comes from preserving these identity-defining details while allowing the setting, action, composition, and camera movement to change.
Step 1: Define the Avatar Before Generating Video
Begin by writing a short identity profile for your avatar. This profile should describe characteristics that remain unchanged across the entire project.
For example:
The avatar is a fictional adult Western woman with an oval face, hazel-green eyes, natural eyebrows, subtle freckles, and shoulder-length wavy chestnut-brown hair. She wears small circular gold earrings, a cobalt-blue blazer, and an ivory crew-neck top. Her manner is warm, friendly, and confident.
Do not overload the profile with unnecessary adjectives. Focus on details that can be seen or heard. Abstract phrases such as “she has an inspiring soul” will not help preserve her appearance.
Once the identity profile is finalized, save it somewhere accessible. Reuse the same wording in every generation rather than improvising a new description for each scene.
If you describe the character as a professional presenter in one prompt and a youthful fashion influencer in another, the model may reinterpret her age, facial structure, makeup, clothing, and body language.
Step 2: Create a Clean Master Reference Image
The master reference image is the visual anchor for the avatar.
Use a high-resolution image with:
- One clearly visible person
- Even and relatively neutral lighting
- An unobstructed face
- A simple background
- Natural facial proportions
- Clearly visible hair and clothing
- No text or logos
- No unrelated objects or additional people
A waist-up or three-quarter portrait usually provides more useful information than an extreme close-up. It shows the face clearly while also establishing clothing, posture, accessories, and body proportions.

Avoid using a crowded lifestyle photograph as the primary reference. If several people or objects appear in the image, the model may not know which visual information should remain consistent.
The image above works well because it gives the model a clear view of the avatar’s face, hair, earrings, blazer, and top. The background is simple, the lighting is soft, and no unrelated subject competes for attention.
The reference should depict a fictional adult or a person whose likeness you have permission to use. Do not create deceptive videos that impersonate a real person without consent.
Step 3: Separate Identity from Scene Instructions
A strong avatar prompt should contain two separate types of information:
- A permanent identity block
- A changing scene block
The identity block describes the face, hair, clothes, accessories, age, and personality. It should remain nearly identical across all prompts.
The scene block describes the location, action, camera movement, lighting, dialogue, and sound for one particular video.
Here is a reusable structure:
Use the uploaded image only as an identity reference for the fictional presenter, not as a literal first frame. Preserve her facial structure, hazel-green eyes, shoulder-length wavy chestnut-brown hair, small circular gold earrings, cobalt-blue blazer, ivory top, apparent age, skin tone, and body proportions.
Scene: The fictional presenter stands in a minimalist creative studio and speaks directly to the camera. Use a stable medium shot, a slow camera push-in, soft daylight, natural gestures, realistic skin texture, and a clean background. Keep the scene in one continuous shot with no cuts.
This separation makes it easier to change the scene without accidentally redesigning the character.
It also helps you identify the source of a problem. If the identity remains stable but the movement is incorrect, you can revise only the action instructions. If the location is correct but the face has drifted, you can strengthen the identity reference without rewriting the entire scene.
Step 4: Generate a Simple Base Clip First
Do not begin with the most complicated scene in your project.
Generate a short base clip in a controlled environment. Use a simple background, limited body movement, stable lighting, and one continuous camera shot. This makes it easier to evaluate the character’s face before introducing difficult movement or dramatic lighting.
Check the following details:
- Does the face match the reference?
- Does the hairstyle remain recognizable?
- Are the earrings, blazer, and other signature features present?
- Does the character’s age appear correct?
- Are the eyes and mouth stable during movement?
- Does the voice match the intended personality?
- Does the character remain recognizable while speaking?
- Does the lip movement correspond to the dialogue?
This controlled studio clip establishes the avatar’s base appearance, voice, facial movement, and speaking style before more demanding scenes are introduced.
The uncluttered background makes it easier to inspect the face and mouth. The blue blazer also creates a recognizable wardrobe anchor that can be reused in later videos.
If the base clip is incorrect, do not continue generating more scenes. Correct the identity first. Otherwise, later clips may repeat the wrong version of the avatar.
Save the strongest base clip even if you plan to generate another version. It provides a useful visual benchmark for evaluating every later scene.
Step 5: Change One Major Variable at a Time
Consistency becomes harder when a prompt changes the outfit, location, camera angle, lighting, action, and emotional performance simultaneously.
A safer workflow is to change only one or two major variables per generation.
For example:
- Clip 1: Neutral studio with a stable medium shot
- Clip 2: Same clothes in an outdoor environment
- Clip 3: Same environment with a closer camera angle
- Clip 4: Same framing with a different gesture
- Clip 5: Carefully introduce a new outfit
This controlled progression helps identify which change caused the identity to drift.
When testing a new environment, preserve the avatar’s clothes. When testing a new outfit, use simple lighting and a familiar camera angle. Once each variable works independently, you can combine them into more ambitious scenes.
The outdoor clip changes the environment, lighting, camera movement, and physical action while retaining the avatar’s core identity and wardrobe.
Compare it with the studio video. The location and movement are different, but the recognizable face, brown hair, gold earrings, blue blazer, ivory top, and general personality remain connected to the same character.
This is a better test of consistency than generating three nearly identical studio shots. A useful avatar should remain recognizable when the story moves to a different environment.
Step 6: Describe Motion Precisely
Vague instructions such as “make her move naturally” leave too much room for interpretation.
Describe the visible character movement and the camera movement separately:
The presenter walks three slow steps toward the camera, stops, turns her shoulders slightly to the left, and smiles. Her head movements are restrained and natural. The camera tracks backward at the same speed, maintaining a stable medium shot.
Detailed movement instructions are especially useful when trying to preserve the face.
Rapid spinning, extreme expressions, sudden camera movement, strong motion blur, and hands repeatedly passing in front of the face can increase visual instability. If the character is speaking, excessive movement can also make accurate lip synchronization more difficult.
For an avatar-focused video, favor:
- Slow head turns
- Natural blinking
- Restrained hand gestures
- Short walking movements
- Stable medium shots
- Gentle camera pushes
- Simple tracking shots
- Continuous scenes without unnecessary cuts
You can introduce more complex action after establishing that the avatar remains recognizable during simpler movements.
It is also useful to describe what should not happen directly in the main prompt:
No scene cuts, no extra people, no wardrobe changes, no exaggerated gestures, and no objects passing in front of her face.
Clear exclusions reduce the chance that unnecessary visual elements will interfere with the character.
Step 7: Keep Dialogue Short and Natural
Dialogue adds another layer of consistency because the model must preserve the face while generating speech, mouth movement, expression, and audio.
Use short sentences that can be delivered comfortably within the selected video duration. If the dialogue is too long, the character may speak unnaturally fast, skip words, or lose accurate lip synchronization.
For an eight-second clip, one sentence of approximately 14–18 English words is usually more manageable than a long paragraph. For a ten-second clip, two short sentences may work if the delivery remains moderate.
Write the exact dialogue inside quotation marks:
She looks into the camera and says clearly: “I’m the same digital creator in every scene, with one identity, one voice, and countless stories.”
Then describe the delivery separately:
Voice: warm adult female voice with a neutral American accent, calm and confident, moderate conversational pace, clear pronunciation, and natural emphasis.
Avoid changing the voice description from one scene to another. If the first prompt requests a calm professional voice and the next asks for a youthful, highly energetic performance, the avatar may sound like a different person.
When a reusable voice reference is available in your chosen workflow, use the same reference for every clip. If the platform does not provide reusable voices, keep the written voice description identical and review the outputs carefully.
Feature availability can vary by platform and region. If reliable voice continuity is unavailable, you can generate the visuals without dialogue and add one consistent recorded or synthetic voice during post-production.
Step 8: Use Conversational Editing for Focused Corrections
Gemini Omni supports natural-language video refinement in compatible workflows. This means you can ask it to change one part of a generated clip while preserving the rest.
Keep editing instructions short and specific. For example:
Restore the presenter’s original facial features and hairstyle from the reference image. Keep everything else the same.
Make the hairstyle match the reference image more closely. Keep the face, clothing, action, camera, lighting, background, and audio unchanged.
Reduce the size of the smile and make the expression more natural. Keep everything else the same.
Change the lighting to a warm sunset. Preserve the presenter’s identity, clothing, movement, framing, and voice.
The phrase “keep everything else the same” clarifies the intended scope of the edit. However, every edit can still introduce small changes, so compare the revised version with both the reference image and the original video.
If an edit significantly damages the face, return to the stronger earlier version rather than repeatedly editing an already degraded result.
Do not combine too many corrections in one request. If the face, clothes, camera, background, and dialogue all need to change, divide the work into several focused edits.
Step 9: Generate Separate Clips Instead of One Long Video
For a multi-scene avatar video, generating several short clips is usually more controllable than asking for an entire story in one generation.
Each clip can have its own focused scene prompt while reusing the same identity reference and identity block. You can then select the strongest results and assemble them in a video editor.
A simple avatar sequence might contain:
- A studio introduction
- An outdoor lifestyle scene
- A vertical educational segment
- A final call to action
This structure also makes failed scenes easier to replace. If the third clip has an inconsistent face, you only need to regenerate that clip rather than the complete video.
The vertical presenter clip tests whether the same avatar remains recognizable in a different aspect ratio, workspace, composition, and presentation format.
The avatar still uses the same recognizable face, hairstyle, earrings, blazer, top, and voice direction, but the clip is now composed for a vertical social media experience.
This demonstrates why consistency should be evaluated across meaningfully different scenes rather than nearly identical generations.
Reusable Gemini Omni Avatar Prompt Template
Use this template as a starting point:
Use the uploaded image only as an identity reference, not as a literal first frame. Preserve the subject’s facial structure, apparent age, skin tone, eye shape and color, hairstyle, hair color, signature accessories, clothing, and body proportions. The character must remain clearly recognizable as the same fictional person.
Character behavior: [personality, expression, and gestures].
Scene: [location and background].
Action: [specific sequence of physical movements].
Camera: [shot size, angle, lens feeling, and movement].
Lighting: [direction, color, intensity, and atmosphere].
Dialogue: “[exact words spoken by the avatar].”
Voice: [accent, tone, speaking speed, and energy].
Sound: [ambience, music, and sound effects].
Format: [aspect ratio and duration].
Use one continuous shot with no scene cuts. Maintain realistic anatomy, natural facial motion, stable eyes, and accurate lip synchronization. Do not change the character’s identity, hairstyle, clothing details, accessories, apparent age, or voice. Do not add subtitles, text, logos, extra people, or distracting objects.
Not every prompt needs every field. Remove instructions that do not matter to the current scene, but keep the identity block stable.
Common Avatar Consistency Mistakes
Using only a character name
A character name does not contain enough visual information unless it is connected to a saved character or reference asset. Continue supplying the reference and identity description when required by the platform.
Changing the identity description
Calling the avatar “a mature professional presenter” in one prompt and “a young fashion influencer” in another can alter the apparent age, facial structure, makeup, and behavior.
Reuse the same identity wording throughout the project.
Starting with complex action
Fast movement, crowded backgrounds, dramatic shadows, extreme expressions, and frequent cuts make consistency harder to evaluate. Establish a reliable base clip first.
Using a low-quality reference
Blur, heavy color grading, extreme viewing angles, facial obstructions, and cropped hair reduce the usefulness of the reference image.
Changing the outfit too early
Clothing is an important visual anchor. Keep the same recognizable outfit while testing new locations, camera angles, and movements. Introduce wardrobe changes only after the face is stable.
Requesting too many corrections at once
If the face, clothes, background, camera, and dialogue all need changes, divide the work into smaller edits. This makes it easier to preserve successful parts of the video.
Treating consistency as a guarantee
Reference images and conversational editing can improve continuity, but generative video can still drift. Always inspect the face, hands, clothing, accessories, voice, and background before publishing.
How to Evaluate the Final Avatar Videos
Place the clips next to one another and compare them directly.
Ask the following questions:
- Would a viewer recognize the character without being told it is the same person?
- Are the eye color, face shape, hairstyle, and apparent age consistent?
- Do the earrings and clothing remain recognizable?
- Does the voice have a similar pitch, accent, pace, and personality?
- Does the avatar retain the same mannerisms?
- Does the face remain stable during speech and movement?
- Are differences caused by natural lighting and perspective, or has the identity actually changed?
Minor variations are acceptable. The goal is not pixel-perfect duplication; it is believable identity continuity.
If one video looks noticeably different, identify the smallest incorrect element and regenerate or edit only that scene.
Final Thoughts
A consistent AI avatar is created through a repeatable system rather than one perfect prompt.
Define a stable identity, create a clean master reference, separate permanent character traits from changing scene instructions, and begin with a simple base clip. Reuse the same reference image and identity block, introduce new variables gradually, and make focused edits when something changes unexpectedly.
Keep dialogue short enough for the selected duration, describe movement precisely, and use the same voice direction across every clip. Generate separate scenes so that one failed result can be replaced without rebuilding the entire project.
Gemini Omni makes this process more practical through reference-based generation and natural-language refinement. It can reduce the amount of prompt rewriting required, but careful preparation and quality control remain essential.
Start creating your consistent AI avatar with Gemini Omni, and treat the first successful reference image and base clip as the foundation for every scene that follows.