
How to Use Gemini Omni: A Step-by-Step Guide to AI Video Creation
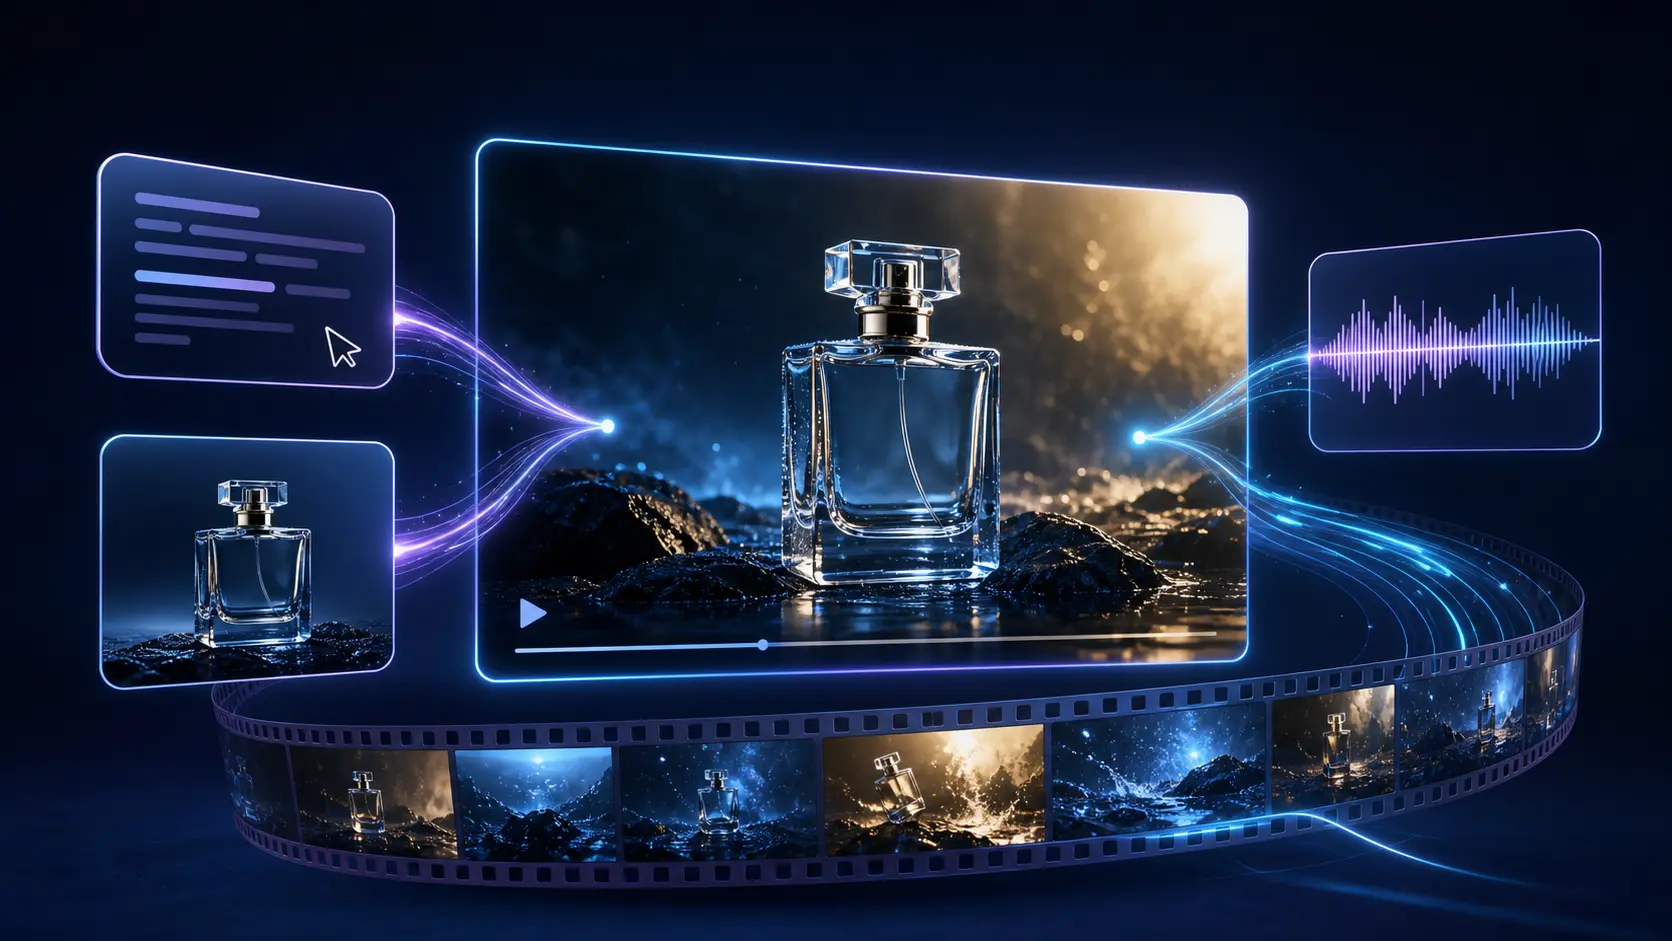
Gemini Omni turns AI video creation into a more flexible and approachable workflow. You can begin with a written idea or reference image, choose the appropriate format, generate a short video, and refine the result until it matches your creative direction.
If you are new to the model, you probably have two immediate questions:
- Where can you use Gemini Omni?
- How do you generate a good video with it?
This guide answers both. You will learn how to access the Gemini Omni generator, choose a generation mode, write a useful prompt, configure your video, evaluate the first result, and improve subsequent generations.
Where Can You Use Gemini Omni?
You can use the browser-based video generator through Gemini Omni.
The generator is designed to take you from an initial idea to a generated video without requiring a complicated editing workflow. Depending on the selected model and mode, you can:
- Generate a video from a text description.
- Animate an uploaded reference image.
- Choose a landscape or portrait format.
- Select a quality and resolution.
- Generate visuals with synchronized audio.
- Download or reframe the finished video.
- Continue refining the result with updated instructions.
If you want to start immediately, open Gemini Omni, select a generation mode, and follow the steps below.
Step 1: Decide What You Want to Create
Before opening the generator, define the purpose of your video.
Ask yourself:
- Is this a product advertisement?
- A cinematic scene?
- A vertical social media clip?
- An animated version of an existing image?
- A character or avatar video?
- A visual effect or style transformation?
- A short shot that will become part of a longer sequence?
A clear creative goal makes every later decision easier.
For example, the following idea is too broad:
Make a cool coffee video.
A more useful creative brief would be:
Create an eight-second vertical advertisement showing a cold brew bottle emerging from ice, designed for Instagram Reels.
The second version establishes the subject, action, duration, orientation, and publishing platform.
Try to build each short video around one main visual idea. If your concept contains multiple locations or complicated story events, divide it into separate shots.
Step 2: Choose Text-to-Video or Image-to-Video
The two most useful starting modes for beginners are Text-to-Video and Image-to-Video.
Text-to-Video
Choose Text-to-Video when you want to create a new scene from a written description.
This mode works well for:
- Original cinematic scenes
- Product concepts
- Abstract visuals
- Establishing shots
- Advertising ideas
- Educational animations
- Social media hooks
Because there is no starting image, your prompt must clearly describe what should appear on screen.
You should normally specify the subject, action, environment, camera movement, lighting, and visual style.
Image-to-Video
Choose Image-to-Video when you already have a visual reference, such as:
- A product photograph
- A character design
- An illustration
- A storyboard frame
- A fashion image
- A logo animation concept
- An architectural rendering
Image-to-Video is especially useful when you want the generated video to preserve an existing product, character, composition, or visual identity.
Use a clean, high-resolution reference image with one obvious subject. A clear product photograph usually provides better visual guidance than a busy collage containing several unrelated elements.
Only upload images that you own or have permission to use.
Step 3: Write a Structured Gemini Omni Prompt
A reliable Gemini Omni prompt can be built with the following structure:
Subject + Action + Environment + Camera + Lighting + Style
You can also include audio directions and restrictions when necessary.
Here is a complete text-to-video example:
A small transparent luxury perfume bottle rests on wet black stone at blue hour. Begin with an extreme macro shot of condensation on the glass, then slowly pull the camera backward to reveal the entire bottle as a thin layer of mist moves gently across the surface. Cool cyan rim lighting, realistic reflections, shallow depth of field, premium cinematic product-commercial style. Add subtle water droplets, quiet atmospheric ambience, and a soft glass chime near the final reveal. Keep the product centered and clearly visible. No hands, no people, no captions, no logos, no additional products, and no camera shake.
A Gemini Omni text-to-video result generated from the prompt above.
This prompt gives the model several clear production decisions:
- Subject: A transparent perfume bottle
- Action: Mist and water moving around the product
- Environment: Wet black stone at blue hour
- Camera: Macro shot followed by a slow pullback
- Lighting: Cool cyan rim lighting
- Style: Luxury commercial
- Restrictions: No text, hands, or extra products
Avoid combining several incompatible ideas in one short prompt. An eight-second video usually works best when it contains one clear action and one controlled camera movement.
Step 4: Choose the Right Aspect Ratio
Select the aspect ratio based on where the final video will be published.
Choose Landscape for:
- YouTube videos
- Website hero sections
- Presentations
- Desktop advertisements
- Cinematic scenes
- Product showcases
Choose Portrait for:
- TikTok
- Instagram Reels
- YouTube Shorts
- Mobile advertisements
- Vertical storytelling
- Social media product videos
Composing the video for the correct orientation from the beginning generally produces a stronger result than generating in one format and cropping it later.
When creating a vertical video, mention vertical composition in the prompt. Important subjects should remain near the center so that interfaces, captions, and platform controls do not cover them.
Step 5: Select a Resolution and Quality
Use a lower resolution while testing an idea. Choose a higher resolution after the composition, motion, and prompt are working.
A practical workflow is:
- Generate an initial draft at 720p.
- Evaluate the subject, action, and camera movement.
- Correct the prompt.
- Test the revised version.
- Generate the approved version at 1080p or 4K.
This workflow helps you avoid spending additional time or credits on a concept that still requires major changes.
Higher resolution cannot fix a weak composition or unclear prompt. Solve the creative problems first, then increase the output quality.
Step 6: Plan the Action for a Short Video
Short AI-generated videos work best when they focus on one visual beat.
For an eight-second video, try this timing structure:
- 0–2 seconds: Establish the subject.
- 2–6 seconds: Show the main action or transformation.
- 6–8 seconds: Reveal the final composition.
For example, a product video might begin with a close-up, introduce motion or lighting in the middle, and end with a clean hero shot.
Do not ask the model to show an entire story with multiple locations and several major events in one short generation.
To create a 30-second video, generate several connected shots and combine them afterward. Reuse the same descriptions for the character, product, environment, lighting, and color palette across every prompt.
Step 7: Generate and Evaluate the First Result
Click Generate Video and treat the first output as a draft.
Evaluate the result using five questions:
- Is the main subject recognizable?
- Does the requested action happen clearly?
- Is the camera movement appropriate?
- Are the style and lighting consistent?
- Does the audio support the scene?
Identify the weakest element before generating again.
If the product looks correct but the mist is too heavy, do not rewrite the complete prompt. Change only the mist instruction.
For example:
Keep the bottle, lighting, environment, and camera path unchanged. Reduce the amount of mist, make the product label sharper, and slow the final camera movement.
Specific revisions are more useful than instructions such as "make it better" or "try again."
Step 8: Use Reference Images Effectively
When creating an Image-to-Video generation, explain which details must remain stable and which elements may move.
The following product image provides the visual reference for this example:
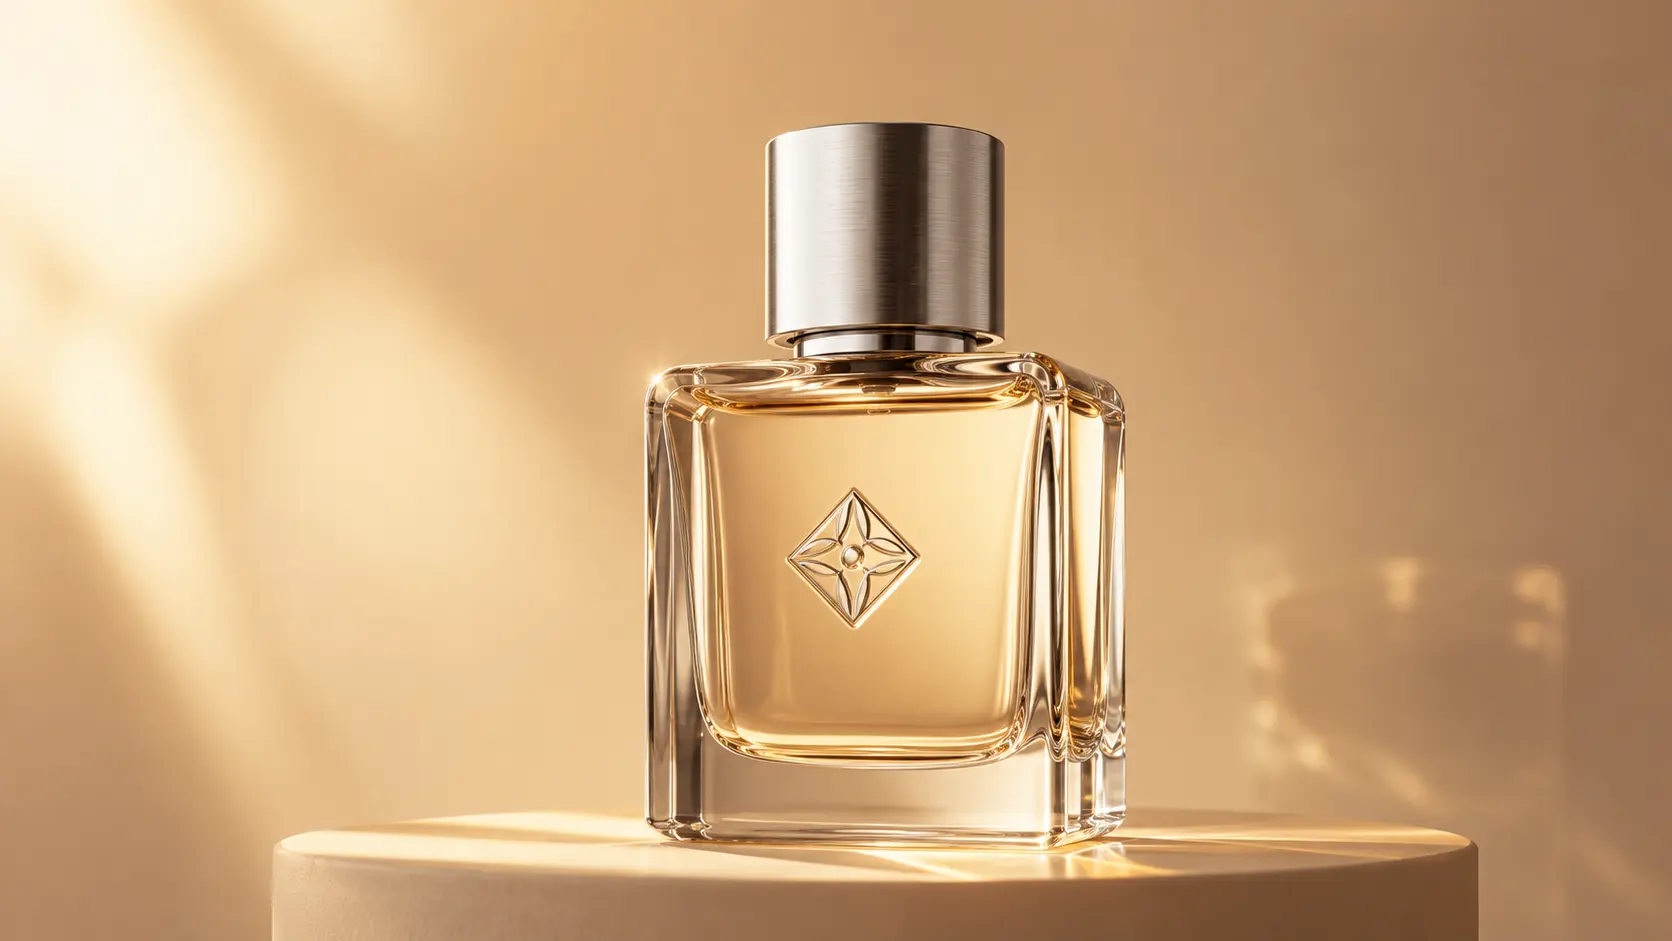
Use a prompt such as:
Use the uploaded image only as a visual identity reference for the perfume bottle. Do not use the uploaded composition as the opening frame. Create a completely new 16:9 luxury commercial scene. Begin in a nearly dark studio with a narrow cyan beam moving across a wet black stone surface. As the light expands, reveal the referenced perfume bottle already standing upright at the center of the scene. Keep the bottle stable while the environment provides the motion. Use a slow, controlled dolly-in toward the product with no orbit and no sudden camera movement. Fine water droplets slide across the stone, soft mist moves behind the bottle, and realistic reflections gradually appear beneath it. At the fourth second, introduce a warm golden backlight behind the bottle, creating an elegant halo through the transparent glass. Finish with a clean, centered hero shot of the product, fully illuminated and sharply focused. Preserve the bottle's original shape, proportions, glass material, liquid color, silver cap, and front emblem. Do not deform or rotate the bottle. Do not add readable text, extra products, hands, people, flowers, or decorative objects. Premium fragrance advertisement, photorealistic materials, controlled studio lighting, realistic glass refraction, shallow depth of field, elegant and minimal composition. Add quiet atmospheric ambience, subtle water sounds, and one soft glass chime during the final product reveal.
A Gemini Omni image-to-video result generated from the reference image and prompt above.
The prompt uses the image as a product identity reference while allowing Gemini Omni to construct a new scene. It also separates fixed product details from the lighting, mist, water, and camera motion that may change.
For a character reference, identify the most important visual features:
- Hairstyle
- Clothing
- Facial structure
- Age
- Accessories
- Color palette
- Art style
Do not rely entirely on a general instruction such as "keep the person consistent." Name the details that should remain unchanged.
Step 9: Create a Vertical Social Media Video
Vertical videos need an immediate visual hook. Viewers often decide within the first second whether they will continue watching.
Here is a prompt designed for a short-form social video:
Create an eight-second vertical cinematic video of a miniature city emerging from inside a transparent glass coffee cup. Begin with an extreme close-up of the dark coffee surface. Within the first second, tiny illuminated buildings rise smoothly from the liquid while warm windows switch on one by one. The camera tilts upward and slowly pulls back to reveal the complete miniature city inside the cup. Realistic liquid physics, warm café lighting, highly detailed miniature architecture, shallow depth of field, magical realism, and a strong visual hook in the opening second. Add subtle city ambience, gentle ceramic sounds, and a soft rising musical tone. Keep the main city centered for a 9:16 composition. No captions, no logos, no people, and no distorted buildings.
A portrait-format Gemini Omni video designed for short-form social platforms.
The main transformation begins immediately, making the result more suitable for Shorts, Reels, and TikTok.
For important marketing text, add captions after generating the video. This gives you more control over spelling, timing, font, placement, and readability.
Step 10: Build a Longer Multi-Shot Video
A longer video should be planned as a sequence of connected shots.
For example, a 24-second product video could contain three eight-second clips:
Shot 1: Introduction
A sealed silver box rests in a dark studio. A narrow beam of light moves across the surface. Slow cinematic dolly-in, black background, controlled reflections, premium technology advertisement style.
Shot 2: Product Reveal
Continue the same dark studio, silver materials, and lighting style. The box opens slowly and reveals a pair of wireless headphones floating above a soft blue light. Smooth upward camera movement, realistic reflections, no text.
Shot 3: Final Hero Shot
Preserve the same headphones, studio environment, blue accent lighting, and premium commercial style. Rotate the headphones slowly toward the camera and finish with a centered hero composition. Subtle electronic ambience, no text or additional objects.
Repeating the important visual details helps the shots feel as though they belong to the same sequence.
Common Gemini Omni Mistakes
Writing a Vague Prompt
"Make an amazing cinematic video" does not define the subject, action, or camera movement.
Describe what the camera should record.
Adding Too Many Scene Changes
A short clip should not contain five locations, three characters, and several major transformations. Divide complex ideas into separate shots.
Ignoring the Camera
Camera direction has a major effect on the final result.
Useful camera instructions include:
- Slow dolly-in
- Handheld tracking shot
- Locked-off tripod shot
- Macro orbit
- Overhead shot
- Low-angle reveal
- Smooth crane movement
- Over-the-shoulder shot
Regenerating Without Diagnosing the Problem
Before generating again, identify whether the issue is the subject, action, composition, camera, lighting, style, or audio.
Change the relevant instruction instead of replacing everything.
Using Important Generated Text
AI-generated text may be inconsistent. Add product names, prices, captions, and calls to action during editing whenever accuracy matters.
Uploading Content Without Permission
Only upload images, videos, logos, faces, or product photographs that you have permission to use. Review the generated footage before publishing or using it commercially.
Frequently Asked Questions
Is Gemini Omni free to use?
Available credits, models, and output options can vary. Check the current Gemini Omni pricing options before beginning a production project.
Can Gemini Omni animate an image?
Yes. Select Image-to-Video, upload a reference image, describe the desired movement, and identify the details that must remain unchanged.
Can Gemini Omni generate vertical videos?
Yes. Choose Portrait when creating videos for TikTok, Instagram Reels, YouTube Shorts, and other mobile-first platforms.
Can I make a video longer than eight seconds?
You can create a longer sequence by generating multiple connected clips. Reuse consistent descriptions for the subject, environment, lighting, camera style, and color palette.
Does Gemini Omni generate audio?
Audio availability depends on the selected model and generation mode. When audio is available, describe ambience, dialogue, music, and sound effects separately from the visual instructions.
What is the best Gemini Omni prompt structure?
A reliable structure is:
Subject + Action + Environment + Camera + Lighting + Style
Add audio directions, timing, aspect ratio, and restrictions when they are relevant.
How do I keep a character consistent?
Use a clear reference image and repeat the character's defining details in every prompt. Keep the hairstyle, clothing, facial features, accessories, lighting, and art style consistent.
Why did Gemini Omni ignore part of my prompt?
The prompt may contain too many instructions or conflicting actions. Simplify it around one main subject and one visual event, then add details gradually.
Start Creating with Gemini Omni
The fastest way to learn Gemini Omni is to begin with a simple scene and improve it through controlled revisions.
Start with:
- One subject
- One action
- One environment
- One camera movement
- One visual style
Generate a draft, identify the weakest element, and revise only that part.
When you are ready, open Gemini Omni, paste one of the example prompts from this guide, and create your first video.
You can also explore the Gemini Omni video demos for more ideas and visual inspiration.